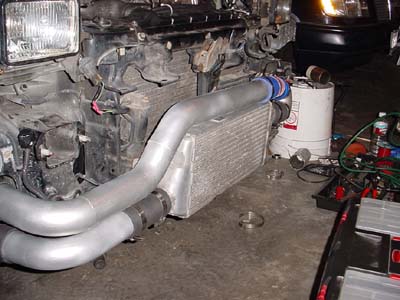
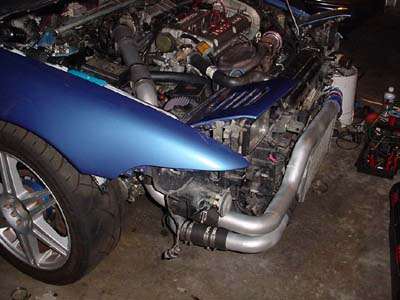
Not exactly a how-to on building a custom FMIC kit, just some text and pictures documenting how I rebuilt the piping. The original piping was crap, and after blowing the pipes a few times and using up all my AAA tows in less than a month, I decided to rebuild all the piping. For those of you thinking about building your own FMIC, by all means go for it. It's not hard at all and I should have built it myself in the first place instead of letting the clowns at Aerodyne Industries, Garden Grove do it.
No idea what kind of core I have. I think it's probably off some early generation EVO or Galant VR4. My guess is it flows the same as the Starion cores because it looks kind of like a Starion core with different end tanks. It came with the same tiny outlets that the Starion ICs have so I had them cut off and enlarged to 2.25".
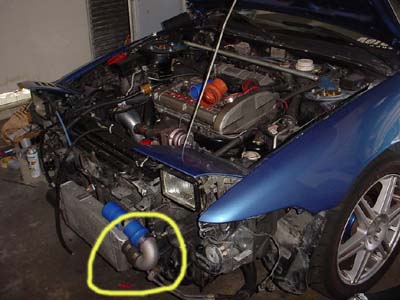
I should have had a 90° outlet welded on top of the end tank instead of having it come straight out. Oh well, I wasn't planning on doing this myself originally so I didn't bother to think about how to route the piping. My bad. I ended up clamping a U-bend on the outlet to get the pipe to go in the correct direction:
For the piping, I decided to go with 2.5" upper and 2.25" lower pipes. Here's the list of pipes I used (all mandrel bent of course):
- 1 straight pipe
- 2 45° bends
- 3 90° bends
- 2 45° bends
- 2 90° bends
- 1 U bend
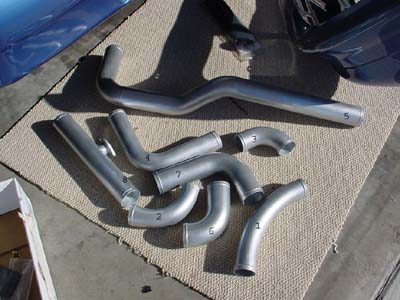
I got all the pipes, clamps and hoses from RRE. They can even weld the pipes for pretty cheap once you have the pipes cut to the correct size. Supposedly you can cut the pipes pretty easily with a hacksaw by clamping them down with a vise, but I was trying to save money so I didn't buy a vise and tried to hold the pipes down with my knee and cut them on the ground. LOL good luck doing it that way. Luckily I had a Dremel sitting around, so I ended up cutting the pipes with the Dremel. It took about 15 minutes to make one cut once I got the hang of it. Here's a pic of the finished, painted pipes:
The pipes are numbered in order from turbo to throttle body. It goes something like turbo -> 1 -> 2 -> 3 -> 4 -> intercooler -> U bend -> 5 -> 6 -> 7 -> 8 -> throttle body. Pipes 1, 2, 3, and 4 are 2.25", and pipes 5, 6, 7, 8 are 2.5". Pipe 1 and 2 are the original crappy pipes I had on the car and I ended up replacing them with two 2.25" 45° mandrel bent pipes. Pipe #5 is made out of a straight pipe, 2 45° bends, and 1 90° bend. After measuring and cutting the pipes, I brought them to RRE and the guys welded it all together for about $30 or $40. Can't remember how much it cost exactly because I was overwhelmed with joy when it came out all nice and purty :). Pipe #8 is the upper IC pipe, again I brought it to RRE and they welded the BOV (blow off valve) flange on the pipe.
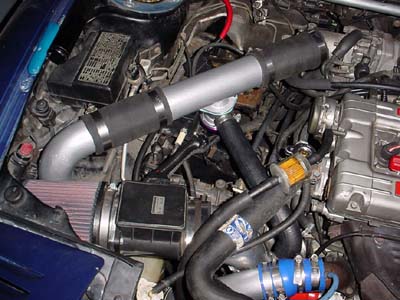
I already had the battery mounted in the trunk, so I was able to use a straight 2.5" pipe for the upper IC pipe:
The hole for the stock IC pipe is big enough for a 2.25" pipe, but needs to be enlarged in order to get the 2.5" 90° bend to fit. Sorry forgot to take pics, but RRE shows you how to do it.
Remember to bead the IC pipes so they don't blow off. I guess it's best to weld a bead to the ends of each pipe, but I got sick of driving to RRE (I think at this point they're starting to get sick of seeing me too haha) so I decided to use the epoxy/JB Weld method to bead the pipes.
I was lucky and all the pipes fit without having to cut the bumper reinforcement. But, even though this is a pretty simple job, it did take me nearly a week of working about 4 or 5 hours a day to finish it and have the car running. The hardest part was cutting the pipes with a Dremel and the most time consuming part was waiting for the JB Weld to dry, then waiting for the paint to dry. It was worth the work though, part of the old pipes were routed around 1cm away from the downpipe so it was sort of acting like an "inter-heater". Plus, I got noticably better response with the bigger piping. The pipe on the left is 2.5", middle pipe is the old crap pipe, and the pipe on the right is 2.25":
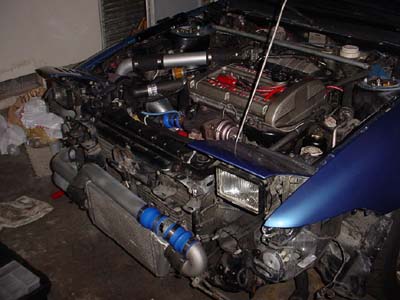
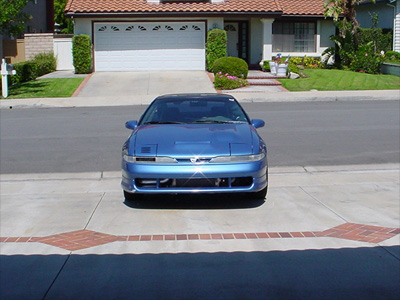
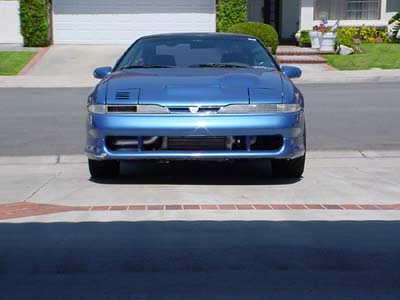
Here's some more pics of the pipes installed on the car:
