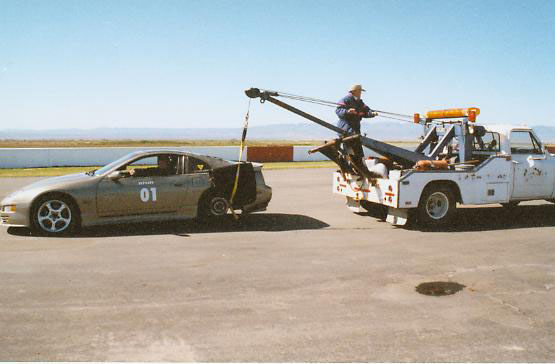
My wheel studs are as old as the car and rusting like mad, so I thought it'd be a good idea to replace them before running wider rims + R compounds on the track. Having your wheel fly off because your wheel studs break is not fun at all:
RRE carries some nice KYO-EI extended studs that are 52mm long (thanks John for letting me have your secret stash! hehe). The good thing about extended studs is they give you enough thread to run wheel spacers or wider rims safely. Installation is pretty simple and straight forward ... just pound the old studs out with a hammer and press the new ones in using some spacers/washers (from Home Depot) and a lug nut (or any nut w/ the correct thread pitch ... DSM studs are 12x1.5) ... but remember you need to do this 20 times.
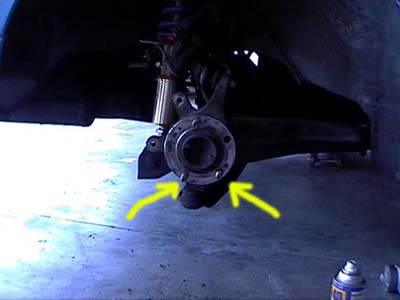
First of all, disclaimer: I have no idea if this is the correct way to do it, just how I did mine. When I did the rears, I cut the dust shield off so I could have easy access to the holes (I figured since I didn't have dust shields in front, why would I need em on the rears?). One problem though ... the studs are too long and I couldn't get them through the holes easily. I finally found this spot where they almost fit, then tapped them in with a hammer (tap, as in tap very lightly so you don't crush the threads on the studs). Here's a pic of the passenger side rear (note: I only had a camcorder around when I did these. The pics are actually screenshots from video, hence the poor image quality):
I said one spot, but why 2 arrows in the pic? Well, I forgot whether it's on the left or right side. I'm sure you can figure that out for yourself though :P Once I got one stud in, I rotated the hub so the hole is in the correct position and inserted the next stud, and repeat till all 5 are in.
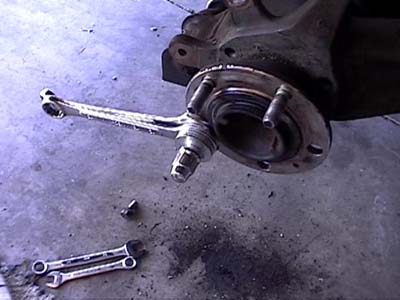
After I got the new stud in the hole, I put the spacers and anything else handy on the stud and pressed it in with the lug nut (actually it's more like pulling the stud through the hole by turning the lug nut):
I stuck a couple wrenches behind the washers because the washers were too wide and wouldn't fit flush on the hub. Another benifit of having the wrenches there is they also served as a handle/lever to hold on to when I was pressing the stud in. Not sure if you're supposed to put the brakes back on first, then use the brakes to stop the hub from rotating when you press the studs in. I wanted to be able to see the studs as they get pressed into the holes and make sure they're going in straight, so I just left the brakes off and used the wrenches as a handle to stop the hub from rotating when I pressed the studs in.
The fronts are a piece of cake compared to the rears because the calipers are so easy to remove, plus there's enough room from a certain angle to fit the studs into the holes without having to tap them with a hammer. No pics because I was butt tired by the time I got this far, but I'm sure you can figure it out for yourself ;)
One thing to keep in mind is you'll need open ended lug nuts because the studs are so long. This might not be a big deal if you can use regular open ended lug nuts with your rims, but my rims need the cheezy little "tuner lugs" that regular auto parts stores don't sell. I wish I thought of that before I put the studs in. It really really sucks ass to not be able to put your rims on 2 days before a track event. I thought I'd give Super Autobacs a try since they're supposed to be geared towards import performance parts. Turns out they have a smaller selection of lug nuts than Pep Boys. What's up with that? Next idea: make my own open ended lug nuts by cutting the top off of my existing lug nuts. Yes it works, but it took me about 20 min to cut one lug nut using the dremel. With 19 more to go, I'd be sitting there cutting lug nuts for the next 6 hours. That certainly ain't gonna work because I also had a roll bar to install (don't you just love those mad wrenching sessions before track days? :P). I called around and finally found some open ended tuner lugs at Dynamic Autosports. You guys rock! :)


